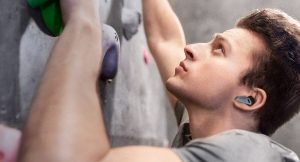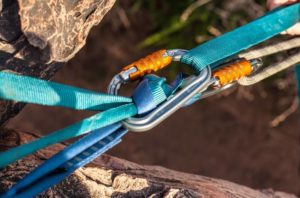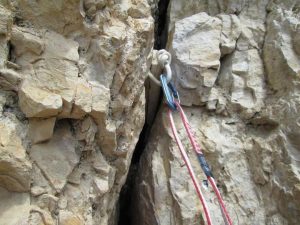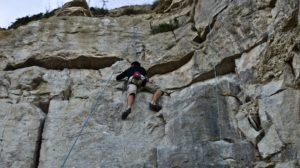
Tying Knots is a fundamental skill in all types of Climbing. However, it does take practice. In the beginning, remembering every knot will be difficult. But take comfort, you do not need to learn all the knots right away. This section covers several stopper knots that are used in Rock Climbing.
As the name suggests, the knots under this category are usually tied at the end of the climbing rope to prevent it from fraying or unraveling. The Overhand, Double Overhand, and Figure Eight Knots are all part of the Stopper Knot family.
Double Overhand Knot
Compared to the Overhand Knot, the Double Overhand Knot is more preferable to be used as a stopper knot since it is harder to untie and is less likely to pull through. This is sometimes tied with another knot for added security. Let our animation teach you how to tie a Double Overhand Knot.
- Step 1: Make a crossing turn or loop by placing the working end on top of the standing part.
- Step 2: Pass the working end through the loop.
- Step 3: Repeat Step 2. At this point, you should have two complete turns at the standing part.
- Step 4: Pull both ends to tighten.
Fisherman’s Knot
As part of the Bends family, the Fisherman’s Knot is usually used to tie two ropes or lines of a similar diameter such as lines used in Fishing, hence the name. It can also serve as a stopper knot and tie up loose ends of the rope. Learn how to tie a Fisherman’s Knot with the use of our animation and steps below.
- Step 1: Get the first rope and make a complete turn around the second rope.
- Step 2: Make another turn and then pass the working end of the first rope through the two loops.
- Step 3: Pull to tighten.
Double Fisherman’s Knot
Also known as the Grapevine Knot, the Double Overhand Knot is commonly used to tie two ropes of different diameters. As the name suggests, this knot involves tying two Fisherman’s Knots on the ropes. Let our animation guide you in learning how to tie a Double Fisherman’s Knot.
- Step 1: Get the first rope and make a complete turn on the second rope.
- Step 2: Make another turn and then pass the working end of the first rope through the two loops.
- Step 3: Pull to tighten.
- Step 4: Repeat Steps 1 to 3 but this time, use the second rope in tying the knot on the other side.
- Step 5: Pull the ends of the two ropes to tighten.
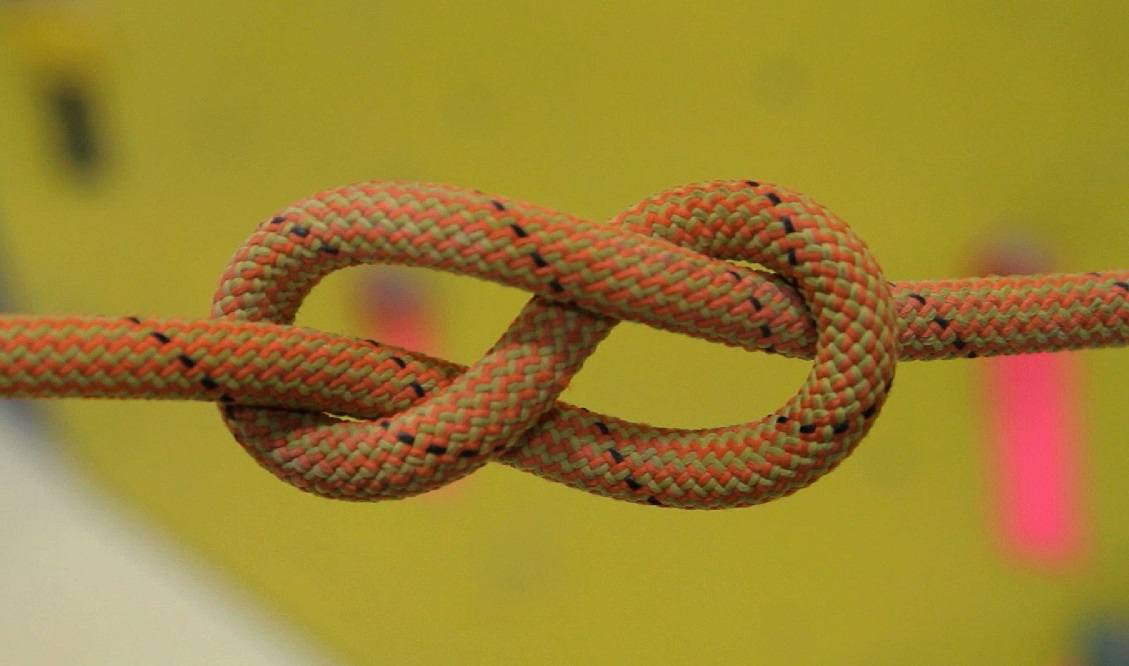
Figure Eight Knot
The Figure of Eight Knot is one of the easiest knots to learn. This stopper knot does not jam and is easy to undo. In this section, learn how to tie a Figure of Eight Knot.
- Step 1: Twist the rope to form a crossing turn or a loop. You can do this by bringing the working end under the standing part.
- Step 2: Bring the working end above the standing part.
- Step 3: Pass the working end through the crossing turn or loop that you made earlier.
- Step 4: Pull to tighten. The knot should be similar to the number 8, hence the name Figure 8.