Fixed Pitons are Found on Many Trad Routes
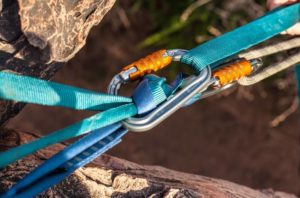
Pitons, like nuts, cams, and other climbing anchor devices, rely on wedging and friction in cracks and drilled holes for their holding strength. Many climbing anchors, like those used on traditional climbing routes, are placed in the rock by the leader and then removed by the seconding climber. The placement and removal of the gear help preserve the rock and also leave the route in an unspoiled condition. Many routes, however, also have permanent anchors placed in the rock for lead protection and belay and rappel anchors. Sport climbing routes are protected with permanent fixed anchors, usually wedge, sleeve, and glue-in bolts that are preplaced and left in the rock, while many other routes have a mixture of fixed protection like bolts and pitons that are supplemented with cams and nuts. Read How to Assess Bolts on Climbing Routes for beta on bolts on sport climbs.
How Pitons Attach to the Rock
Pitons are pieces of metal, usually, a U-shaped shaft called an angle piton or a blade-like shaft called either a blade or by types like Lost Arrow or knife blade, that are pounded into cracks, seams, and holes in the rock surface with a piton hammer.
Pitons use a combination of both friction and wedging to hold them in a crack. Angle pitons by their design also used wedging to hold in place since the U-shaped metal pushes out against the rock as they are driven in. Pitons that are placed perpendicular, like at a 90-degree angle, to the force and direction of an anticipated load such as a fall are stronger than those at other angles.
Fixed Pitons Found on Older Routes
Pitons are often left in place or are fixed on climbing routes, especially older routes that were climbed before 1975 when pitons were the preferred method of protecting climbing routes. At the Garden of the Gods, an old-time sandstone climbing area in Colorado Springs, many of the routes are still protected by pitons that were placed by early climbers, beginning in the early 1940s when U.S. Army climbers from the 10th Mountain Division climbed at the Garden. After that, climbing pioneer Harvey Carter began drilling holes in crackless sandstone faces at the Garden with a hand drill and then hammering soft-iron Army angle pitons into the holes to protect routes and to provide anchors for belaying and rappelling. Many of these old pitons are still used by climbers.
Fixed Pitons are Difficult to Assess
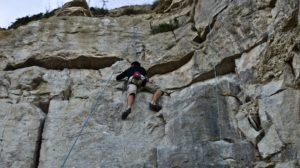
When you are climbing at the Garden of the Gods and other older climbing areas like Eldorado Canyon, you need to be able to properly assess the strength, safety, and integrity of fixed pitons—your life may depend on them. When you encounter these fixed pitons, you do not know their age, how far they go into the rock, who placed them, and how strong they are. Because of these unknown variables, it is very difficult to evaluate their condition.
Never Completely Trust a Fixed Piton
When you are using fixed pitons, it is best to never fully trust them and to never rely on a single fixed pin as a belay or rappel anchor. In those cases, you always want to back the piton up with other gear to create an anchor with redundancy. Fixed pitons are often totally solid and bombproof or they may be so weak that you can remove them with your fingers.
Do a Visual Inspection of Pitons
You need to do a quick visual inspection before using and committing to a fixed piton. Always approach a fixed pin with healthy suspicion. Just because it looks solid does not mean that it is. If you have any sort of bad feeling about a fixed piton then either don’t use it or back it up with a piece of gear like a cam or nut or with a natural anchor.
How to Inspect a Fixed Piton
Before using a fixed piton, follow these steps to do a visual inspection of the piton:
- First, look at the rock that it’s pounded into. Is the rock surface crumbly, hollow-sounding, and fractured? Or is it clean and solid? Over-driven pitons often fracture the rock around the placement, weakening what should be a solid piton.
- Inspect the piton placement. Is it pounded into its eye or is part of the piton sticking out of the rock? Does the piton seem solid? Does it move if you grab it with your fingers? You can tap the piton with a carabiner to help gauge the strength of its placement—if it sounds hollow then it isn’t well set in the crack; if it has a high-pitched ring then its placement is still tight.
- Check out the physical condition of the piton. Does it have excessive rust or corrosion? Is the eye bent or cracked? Note any other structural damage to the piton.
- Consider the effects of weathering on the piton and its placement. Does water run down the cliff onto the piton, loosening it or rusting it? Is it pounded into a spot where snow might collect, melt, and then freeze, causing frost wedging to loosen the piton placement?
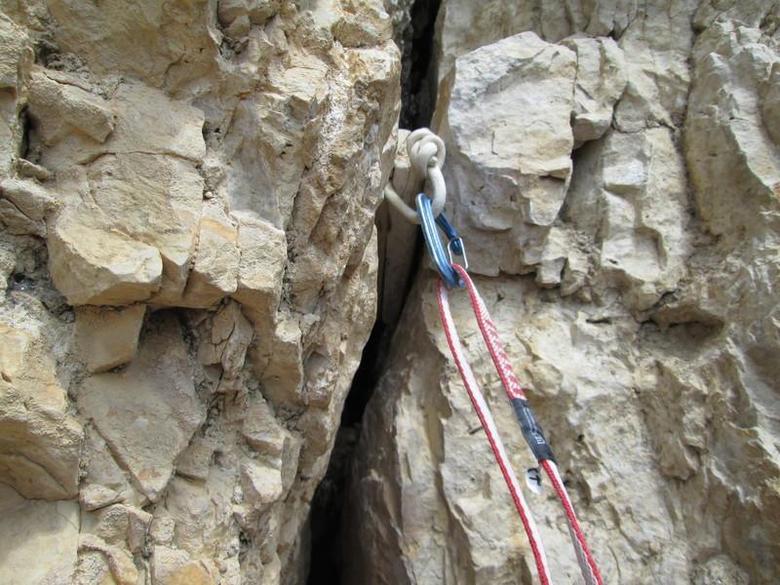
- Note the placement of the piton. A piton pounded into a horizontal crack is always stronger than one hammered into a vertical crack. Pitons in vertical cracks can rotate out of the placement, whereas pitons in horizontal cracks will cam under a weight load.
- Sometimes old pitons jut out an inch or two; remember to tie a slip knot with a sling onto the piton shaft and clip your quickdraw into the sling rather than the eye to keep the load next to the rock face. If you use a girth hitch to tie the sling, remember that there will be two pieces of sling in contact with the piton rather than one, which increases leverage and compromises the strength of the placement.