Applying grip tape to a skateboard is not difficult but it takes care to apply it correctly. Here are a few hints to help you do the job.
What is Grip Tape?
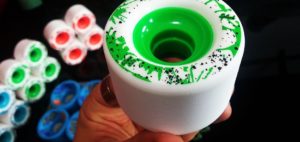
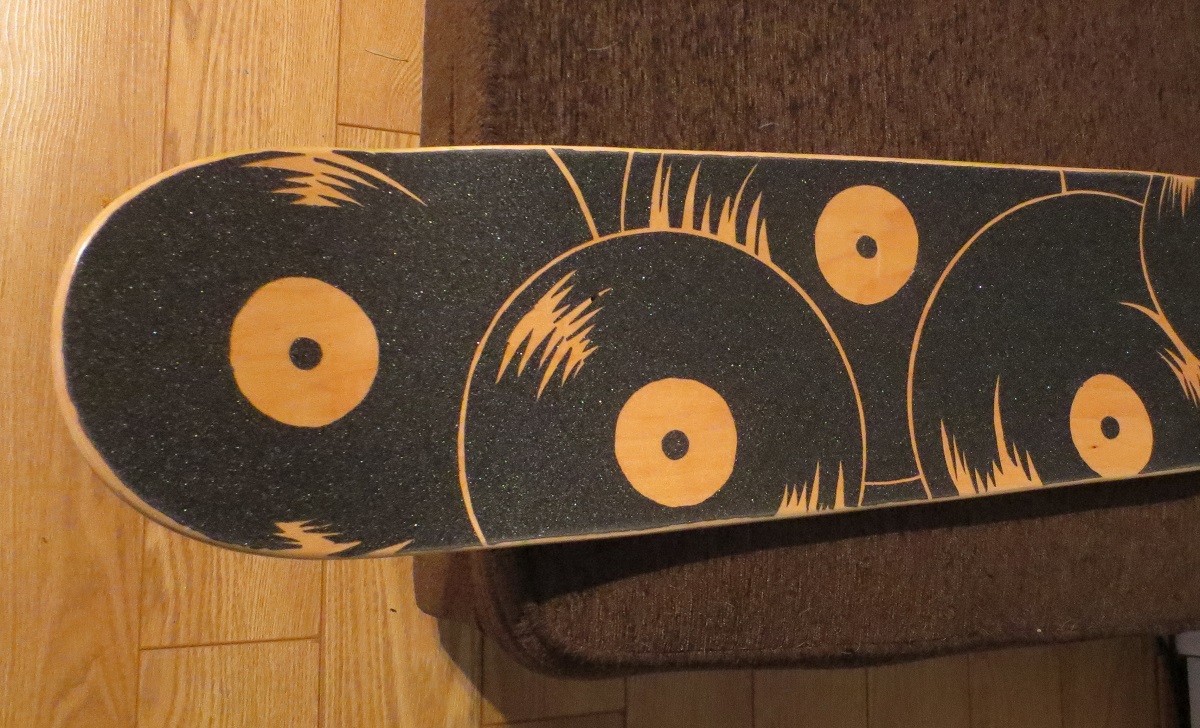
Grip tape is an adhesive-backed, sand papery, friction material attached to the deck of a skate board to give the rider more friction to control the board. Grip tape typically comes in different colors to be used as a decorative application as well as a practical one.
Skate boarders will sometimes cut designs into their tape to give their board a unique look and to easily tell the difference between the nose and tail of the board. Even though grip tape comes in a variety of colors, including transparent, skate boarders will sometimes spray paint patterns onto the tape.
Adding grip tape to a skateboard is not difficult but if there is old tape in place it might be a bit of a challenge to remove the old without disturbing the surface of the board. For this exercise, assume there is no tape on the board. When buying grip tape, buy a quality brand. Ask other skateboarders for a suggestion if you are not familiar with grip tape.
Sizing It Up
The tape comes in sheets, and it will be necessary to cut the tape. Do not cut the tape to fit. Apply it first then trim the edges after. Cut the tape in a width that is wider than the board. If there is a graphic on the board you wish to remain uncovered, cut a piece of tape to fit on either side of the graphic with enough tape to overhang the board. Using a piece of grip tape, rough up the edges and surface of the skateboard where the tape will be applied and remove the dust. This will allow the tape to stick better to the board.
Applying the Tape
To apply the grip tape, lay the board flat. Pull back the backing of the tape about an inch. Assuming a graphic will remain exposed, center the tape over the board on one side of the graphic and stick that edge to the board. While pulling the backing off the tape, work the tape to the board with your other hand being sure to avoid air bubbles. Continue until the tape is covering the board. If a second tape is to be applied, do it in the same manner.
Trimming the Tape
Once the tape has been applied to the board, take a screwdriver and rub the edges all around the board until it is white. The point is to make the edge weak and easier to trim. Try bending the edge of the tape hanging over the edge and if it bends easily, it is ready to trim. If not, continue rubbing the edge until it bends easily.
With a sharp razor blade, carefully trim along the white line. Trim slowly to assure a clean edge. Once the tape is trimmed from the board, rub down the edges once more to make sure the tape is in fill contact with the board. If you notice any air bubbles in the tape after application, using the point of the razor blade, poke a couple of holes in the bubble then press that area with your hand.
Check out the Skateboard Terminology list here!