Being a relatively new sport, land paddling has yet to hit critical mass yet. Therefore, there are only a few manufacturers producing land paddles at this point and they aren’t readily available in all towns. You can however make your own until you figure out if you want to buy one online. Here are the instructions to make your own land paddle.
Step 1: Choose and Gather Your Land Paddle Materials
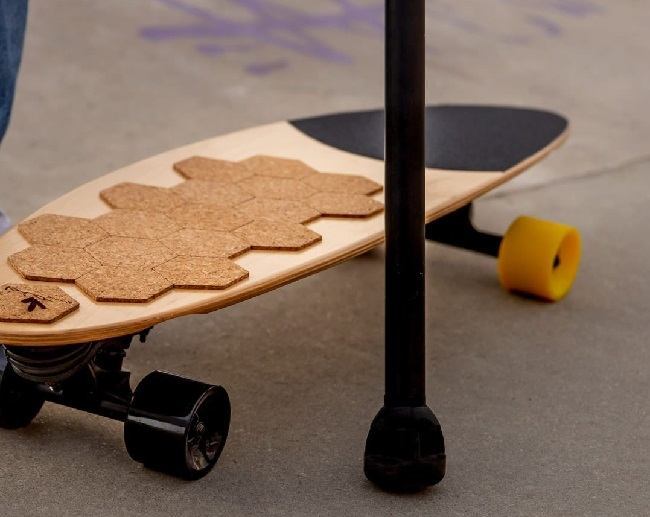
To make your own land paddle, you’ll need to choose materials for the shaft, the grip, and the tip, otherwise known as the blade. You’ll also need some tools and supplies to finish the job.
Step 2: Cut the Shaft to Size
A land paddle should be about the same height as the paddler when standing on the ground. When standing on the longboard, the paddle should come up to somewhere between the paddler’s jaw and forehead. Cut the shaft to the desired length, factoring in that the blade (tip) and the handle will both add length to the paddle. Any excess that is cut off can be used to make a t-grip for the handle.
Step 3: Create the Handle
Choose an item to be the handle of the land paddle that provides a comfortable grip. The two items suggested here are a tennis ball or to make a t-grip out of a wooden rod.
To make a tennis ball handle, put on cut-proof gloves. Use a razor to make four slits in the tennis ball. First, cut through the fabric part of the ball. Then push the razor into the ball, making a hole. Ensure the face of the blade is on the other side from where your fingers are holding the ball. Once the blade is pushed into the ball make four 1” cuts in the ball each at 90 degrees to each other, thereby making a + pattern in the ball. Pull and hold out the flaps of the ball and fit over the end of the shaft. You can then drill screws in each flap of the ball to secure it to the shaft. The screws are optional.
To make a t-grip handle, use a 4 – 6“ piece of wood that you cut to size the shaft. If you are good with tools, cut a flat spot in the center of the length of the wood so that it will fit flat on the top of the shaft. Drill a hole in the center of the length of the handle through the flat spot. Also, drill a hole in the top of the shaft to screw the handle to it. Screw together. The top of your land paddle should look like a “T.” Wrap with tape if you wish.
Step 4: Create the Blade or Tip
The blade or tip of a land paddle is the surface that is actually used to push against the ground. The simplest option uses a tennis ball once again. If you wish to go this route, follow the directions above for how to make the handle. If another rubber object is used such as a hockey puck or pogo stick tip, you may want to use a router to create an indent in the rubber that will fit the end of the shaft. Otherwise, just drill into the center of the rubber and into the center of the shaft. Use a washer on the rubber and screw the rubber object to the shaft.
Step 5: Finishing Touches
Use duct tape to wrap any transition areas that there might be such as the flaps of the tennis ball against the shaft. Then use either duct tape or electrical tape to wrap areas where your hands will be placed. You could also sand the areas down if it is rough. Basically, you want to make your land paddle comfortable for your hands.
Step 6: Test it Out!
You’re done. After some use, you may find that you would like a longer or shorter paddle, a different material shaft, or a different grip or blade. Try out different options. Of course, if you’re good with tools, you can make a really nice land paddle, with crafted components and quality finishing. Knock yourself out. Before long your friends will be asking you to make some for them.