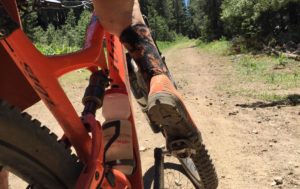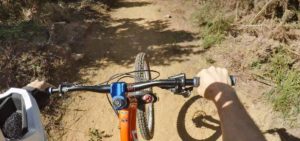
There’s nothing that can deflate a perfect bike ride like a flat tire. But the unexpected cactus thorn or piece of glass doesn’t have to bring your fun to a halt – you just have to be prepared with the proper tire-fixing knowledge and equipment.
Installing a New Tube
- Remove the flaccid tube and check the inner casing of the tire for sharp objects.
- After removing any obstructions, replace the defective tube with the spare that you have so wisely brought with you (and then put the tire back on).
- Before completely reinflating the tube, pump a small volume of air in it to make sure the bead is seated on the rim. (The bead is the wire or kevlar strand that is built into the tire and holds it securely to the rim after being inflated.) This prevents the explosion that is sure to follow if the tube is allowed to escape the confines of the tire.
- After checking the bead, reinflate the tube to the recommended PSI (pounds per square inch — the volume of air a tire can safely contain) that is typically printed on the outside of the tire. Paying attention to the PSI is important, because too little air in the tire will damage its sidewall, and too much will cause it to literally blow off the rim.
Pumps
As for the instrument of inflation, there are a variety of choices: the standard, full-size, frame pump; the micro-pump; and the compressed air cartridge.
- Because of its larger size, it isn’t as difficult or tiresome to operate as the smaller micro-pumps.
- Micro-pumps have the advantage, of course, of being small. These little pumps fit nicely next to a water bottle cage or slip easily inside a fanny pack. But, in my experience, what micro-pumps offer in convenience they lose in function. If you’ve ever spent way too long stroking one of these, you know what I mean. Because of their small size and minimal weight, however, the micro-pumps are great to bring along as emergency backup or on shorter rides.
- If you want to go with the highest tech and least expensive inflation device available, consider the compressed air cartridge. At a price that is cheaper than most mini-pumps, this little device is the wave of the future. It weighs almost nothing (3 oz.), and once you’ve purchased the container, the replacement cylinders don’t cost much more than a dollar each. The air cartridges regulate the rate of inflation and can easily reach 100 PSI in the blink of an eye. On an environmental note, these cartridges are ozone safe and the metal cylinders can be recycled.
Patching the Tube
Before resuming your otherwise perfect ride go ahead and patch the leaky tube. This will give you a head start in the unlucky event that you get another flat. There are two ways to patch a tube: The first is tried and true, but has a history of being problematic; the other is a recent innovation that has not yet stood the test of time, but, in my opinion, is much easier than the old way. The traditional patching method involves:
- Taking a small piece of sandpaper (always included in a store-bought patch kit) and roughing up the area around the hole. This will create a good surface for the patch and glue to bond.
- Next, place a few drops of vulcanizing fluid (glue) around the hole and let it become sticky.
- Then place the patch over the hole and press on it firmly for about one minute to make sure there are no unbonded areas.
- The tube is now ready to be rolled up and put away for future use.
If this three-step procedure seems like a chore, you may want to try the new adhesive patch method. “Quick Fix” and other adhesive varieties (available at most bike shops) merely involve cleaning the area around the hole with an alcohol solution and then sticking on the patch. There is no waiting and no mess. My guess is the adhesive patch will soon render the traditional sandpaper method obsolete.